
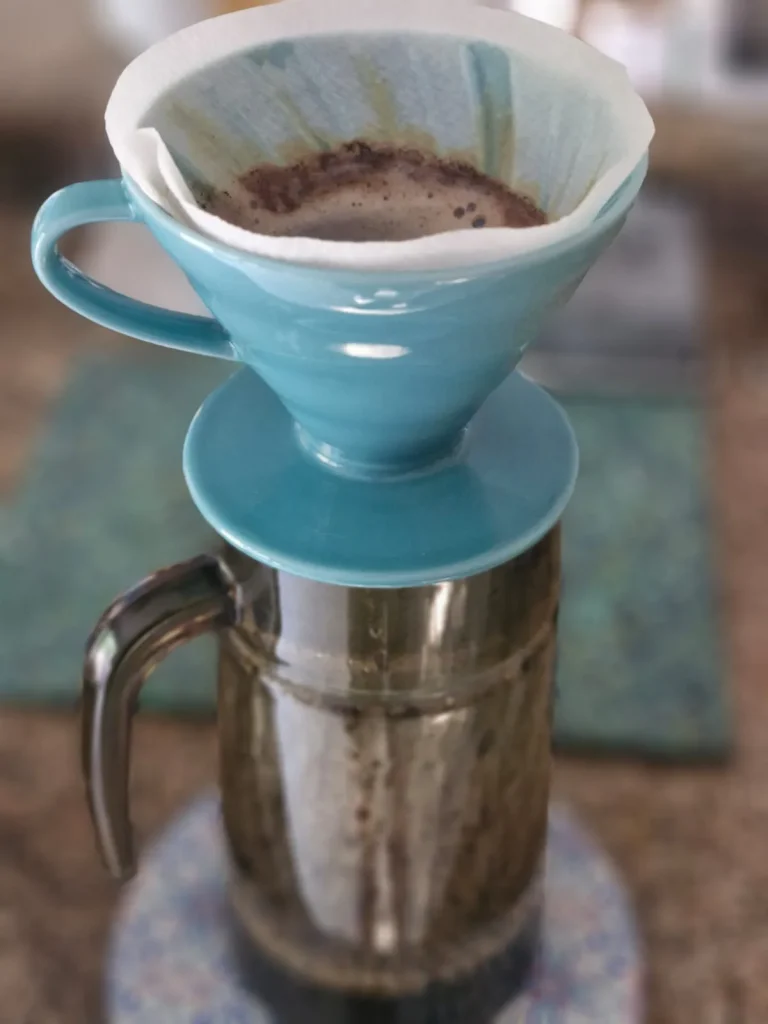
Confession time!
This is a slightly awkward one for a man who supposedly roasts coffee for a living: for the first stretch of owning this business I treated the V60 like a party trick (once I finally got my own one, which took about 3 years). It was something shiny to pull out when a friend was watching, all careful pours and knowing little nods, and then the rest of the week I’d just chuck some grounds in my camping coffee maker device thing and hope for the best. I also watched a lot of James Hoffman and other coffee influencers (if that’s even a term) and convinced myself that they were right and it had to always be a super technical and finicky experience. But later on in my pour over journey I actually started paying more attention to what I was doing, and my home cup got a lot better. It wasn’t fancier and it wasn’t truly better all the time in terms of extracting out the absolute best / most optimal flavours. Just better on average… More consistent… Easier. And there’s a difference. It made the whole experience more enjoyable and less frustrating rather than chasing some arbitrary “pour times” and amounts.
So this one is for anyone with a little cone-shaped dripper sitting in a cupboard, feeling faintly judged by it. The V60 has a reputation for being fussy, precious, the sort of thing that demands a scale, a gooseneck kettle and a personality transplant. It really doesn’t (well ok, the scale is sort of a must if you want to be consistent). It just rewards a bit of attention, which, if I’m honest, is most of what good coffee comes down to anyway – whether you’re talking about French Press, Espresso, or Pour Overs.
What the V60 actually is (and why that funny shape matters)
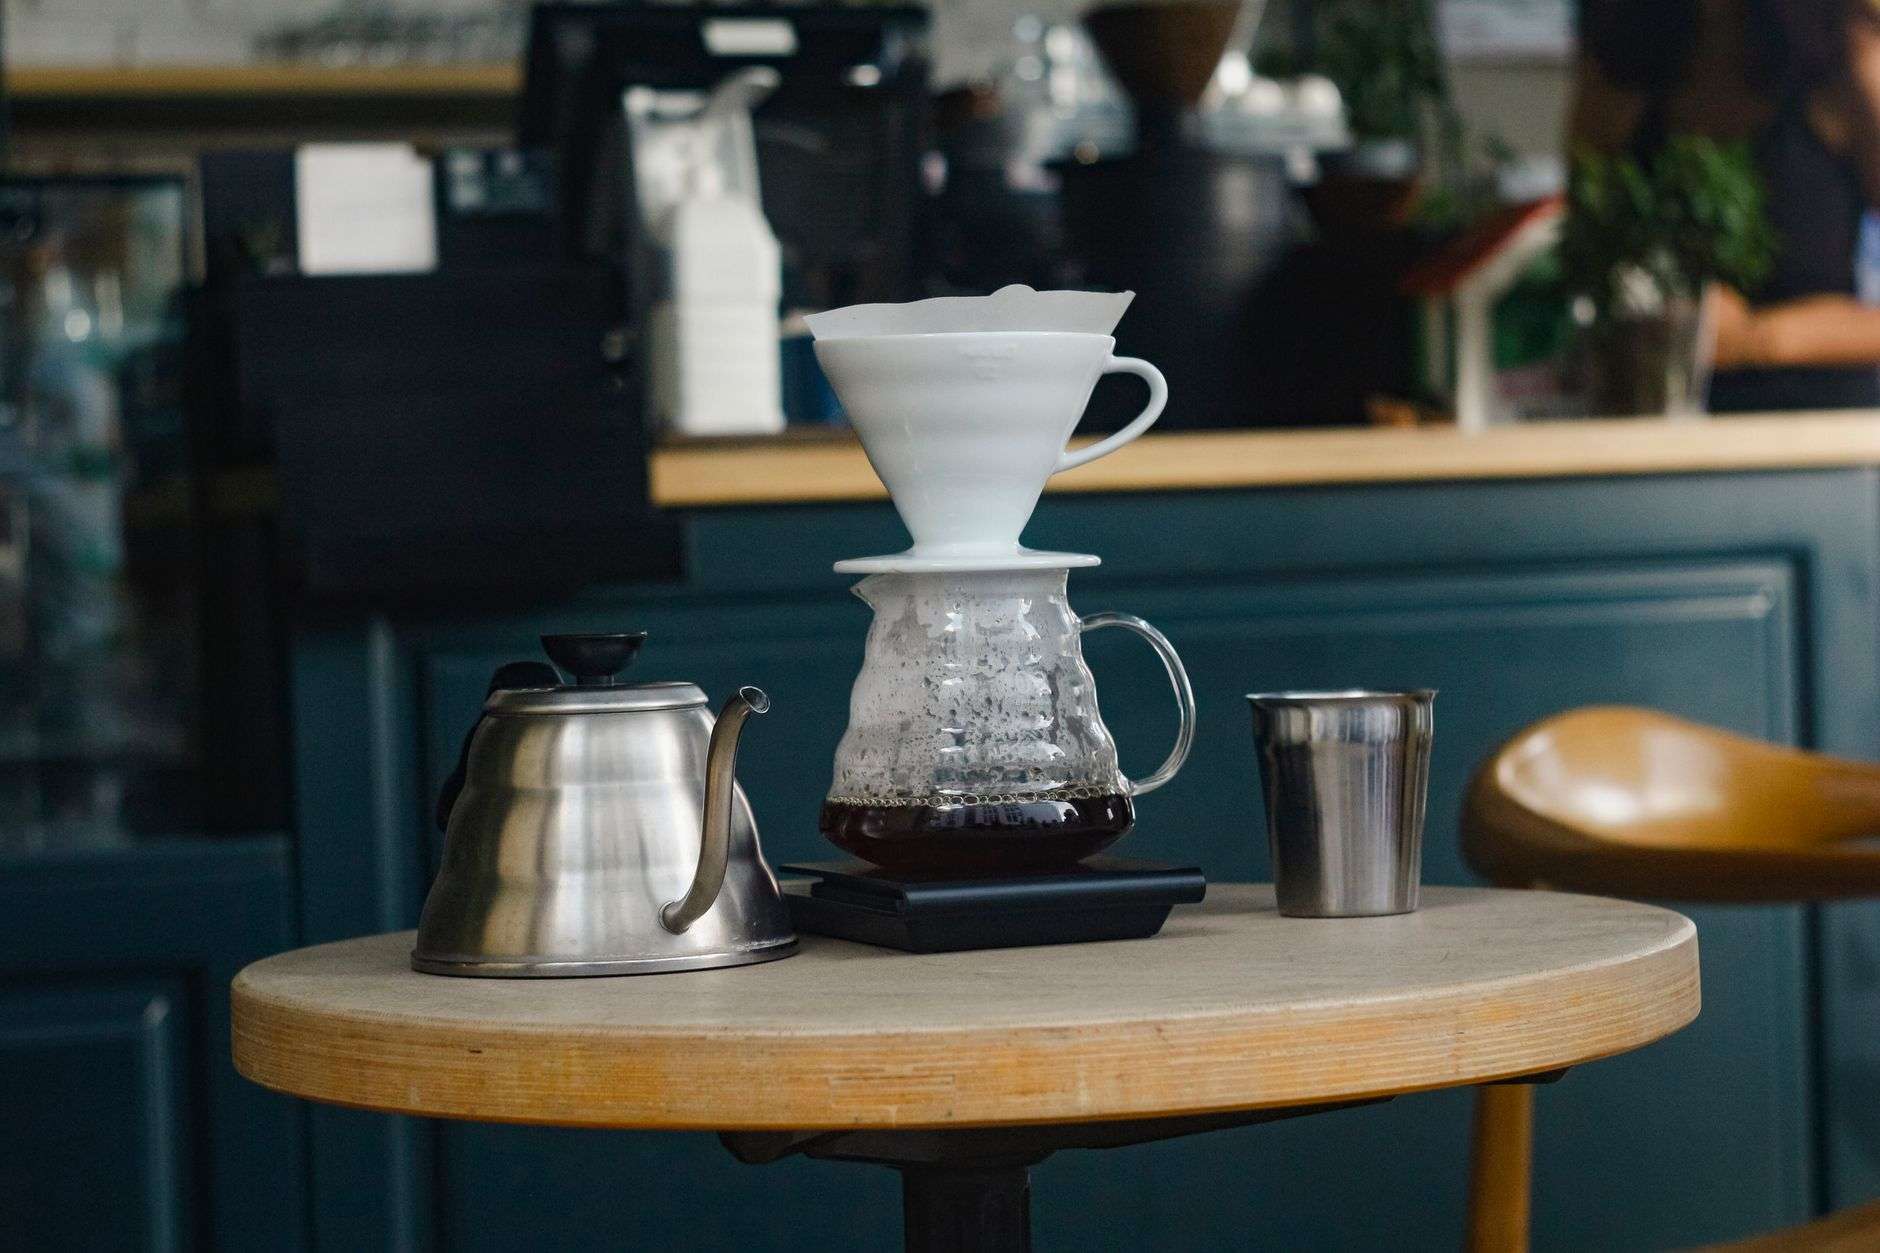
Quick bit of background, because it delights me more than it should. The V60 comes from Hario, a Japanese glassware company that has been going since 1921 and started out making lab glass. That mindset shows. The “60” is literally the angle of the cone: 60 degrees. That steep cone, one big hole at the bottom, and those spiral ridges running up the inside all mean the water flows through fast and evenly, so you steer the brew with how you pour rather than wrestling the dripper.
It’s a percolation brew, which is a fancy way of saying the water passes through the coffee once and then leaves, as opposed to a French press where everything sits and steeps together (that would be an immersion brew). That single pass is why a good V60 tastes so clean and bright, almost tea-like, and why it shows off the character of a nice single origin instead of muddying it (think of the dredgy stuff at the bottom of a French Press when you pour it). If you want to nerd out properly on the design, Hario’s own explanation is worth a read.
The four things that actually matter
You can absolutely go down the rabbit hole here (people do, gloriously, with spreadsheets), but for a properly good home cup you only need to get four things roughly right.
1. Grind fresh, and grind medium. This is the big one. Coffee starts losing the good stuff within minutes of grinding, so if you’re serious about one upgrade, it’s a burr grinder over pre-ground every time. Aim for something like coarse table salt. Too fine and the water gets stuck and over-extracts (bitter, hollow, muddy); too coarse and it rushes through (sour, thin, sad). I’ve written more on why freshness matters if you want the longer version. PS: for those really in the coffee internet deep-end, you should check out Tetsu Kasuya’s new paradigm breaking recipe which involves CRAZY coarse grinds and, like, 10 pours… Something interesting which I still have yet to try out myself.
2. Take your water seriously. Your cup is about 98% water, so if your tap water is heavily chlorinated or very hard, that’s what you’re mostly drinking. A cheap filter jug does wonders. I got so worked up about this once that I wrote a whole post on how tap water ruins your coffee… so I’ll spare you the rant here. Temperature matters too: just off the boil, roughly 92 to 96°C. If you don’t have a thermometer, boil it and count to thirty. For certain coffees like Anaerobic Fermentations, you might want to use a slightly lower temperature than for something like a high grown Ethiopian. You might even want to use higher temperatures for coarser grounds. But if you’re reading this article to walk away with the “simple framework” version of all this, then boil and let sit for a minute – it’s close enough.
3. Mind your ratio. A 1:16 ratio is a lovely place to start. That’s 15g of coffee to 250g of water, which makes a solid single mug. If you have a kitchen scale, please use it. If you don’t, please borrow mine. Try this, and adjust to taste from there.
4. Pour with a little patience. Start with the bloom: pour just enough water to wet all the grounds (about double the weight of coffee), then wait 30 to 45 seconds. You’ll see it puff up and bubble, which is CO2 escaping and a sign the coffee is fresh. That’s your reward for buying good beans :). Then pour the rest in slow, steady spirals from the centre out, keeping the water level up but not flooding it. The whole brew should take somewhere around 2.5 to 3 minutes max. This is the simple version of the guide, so I’m not going to advocate for a specific number of pours or anything – just keep it simple and remember whatever you did so that you can do it again next time if you liked it.
The recipe I actually use most mornings
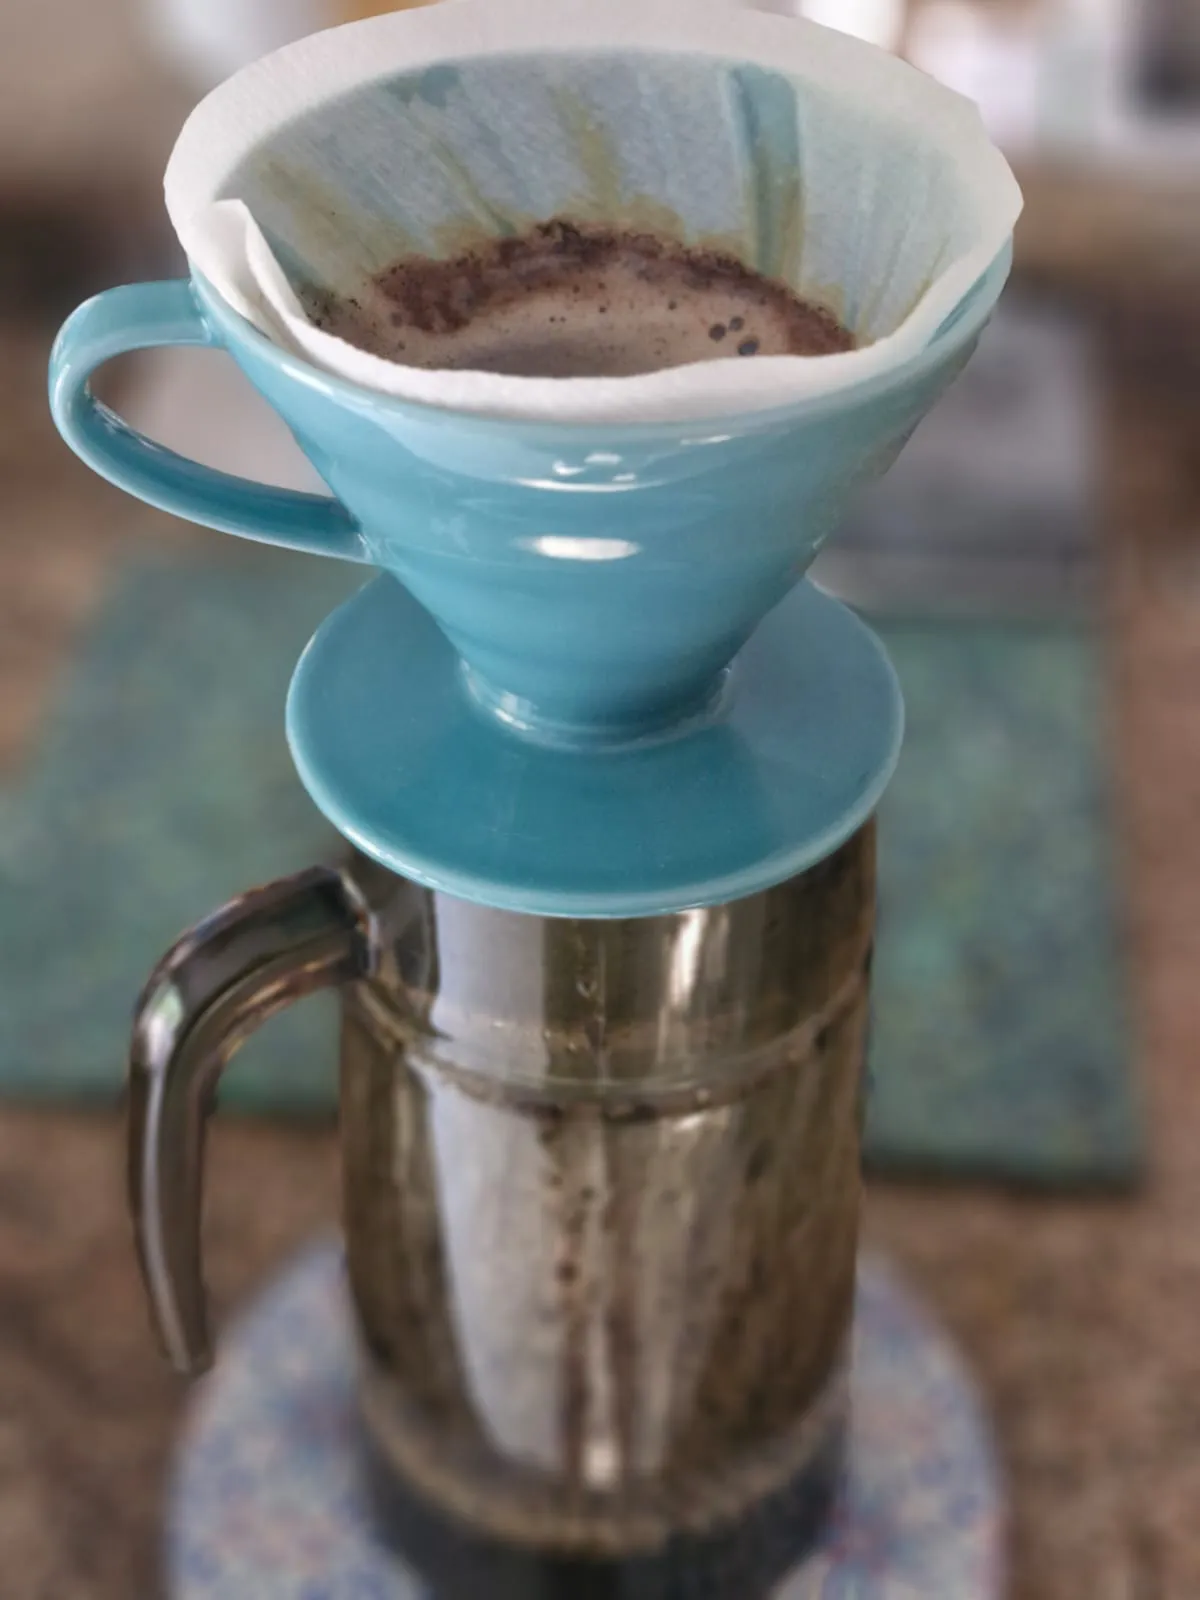
No mystique, here’s the lot: 15g coffee, ground medium. 250g water, just off the boil. Bloom with 40g, wait 40 seconds. Then pour up to 150g, let it drain a touch, and finish up to 250g. Done in under three minutes, before I’ve had a chance to overthink it. That last part is important, because I will overthink literally anything given the opportunity.
And this is where I’ll gently break character as the coffee guy for a second. The thing I love about a pour-over at home isn’t only the ceremony… it’s that it makes you stand still for three minutes and do one thing. No scrolling, no half-listening to a podcast while doing three other tasks. If you are currently doing that, then don’t – trust me. Let this be your reminder to switch off and enjoy doing one thing at a time. Just water, coffee, and a small, satisfying result at the end. I’ve banged on about this at length in my posts on slow living and why we still need a third place, so I won’t relitigate it. But the V60 is basically that whole philosophy in a small plastic cone.
If your cup comes out sour and thin, grind finer or pour a touch slower. If it’s bitter and heavy, grind coarser or back off the water temperature. That’s honestly the entire troubleshooting guide. Change one thing at a time, taste, adjust. And if you want to get better at telling what you’re actually tasting, my guide to tasting coffee without feeling like an idiot might help.
We roast everything in small batches out here in Blouberg, and the single origins in particular really come alive in a V60. So if you’ve been meaning to give yours a proper go, grab some fresh beans, filter your water, and give yourself three unhurried minutes tomorrow morning. Small Batch. Big Soul., and all that. Come say hi on Instagram @apothecary_coffee_co and show me your pour… I’m nosy about these things.
Ready to taste the difference?
Fresh roasted by Apothecary in Blouberg, shipped to your door.
New here? Have a read about us and how this whole thing started, browse our single origins (the pour-over stars) and blends, or just head to the store.